Contour Drawings
Blind Contour
|
|
|
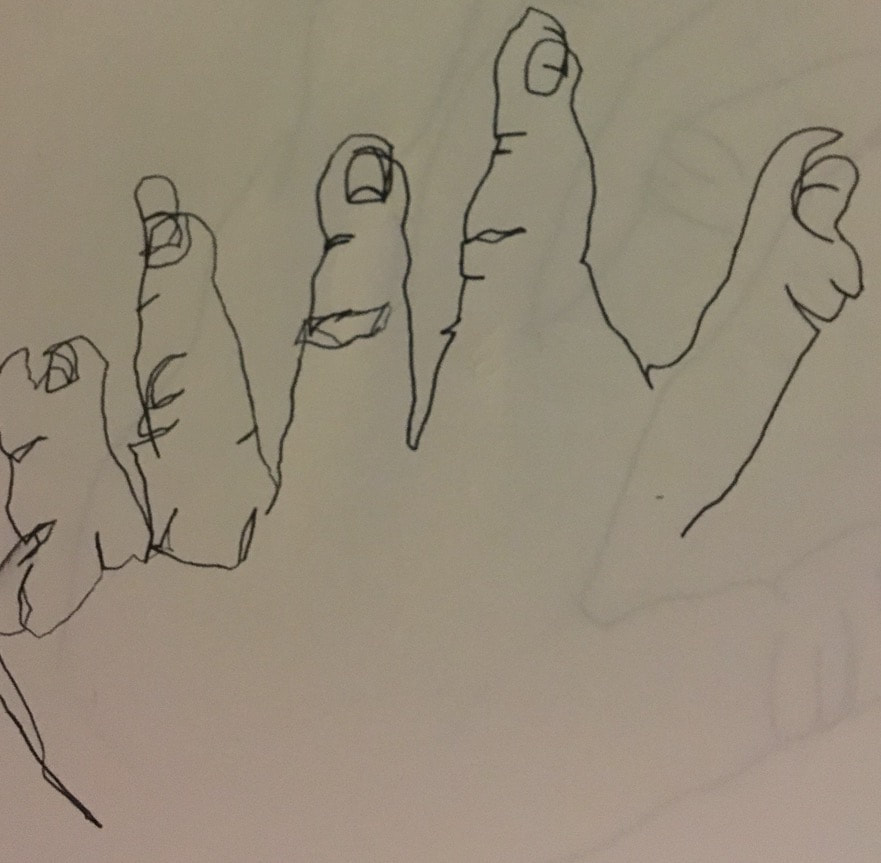
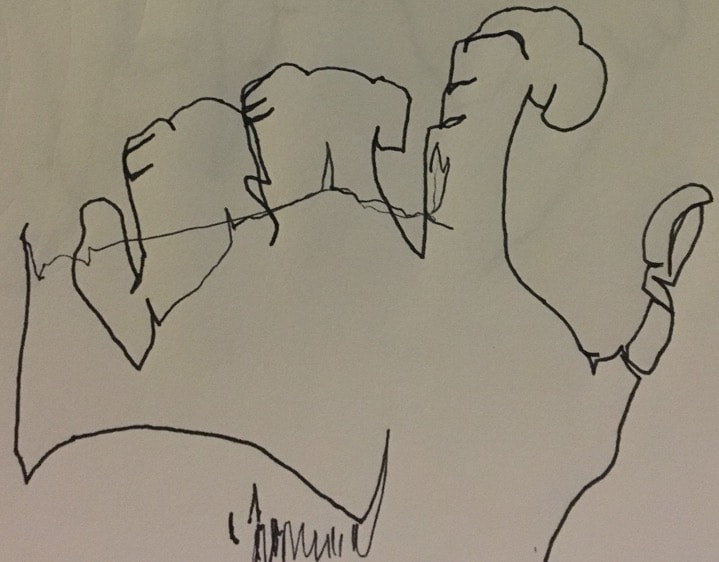
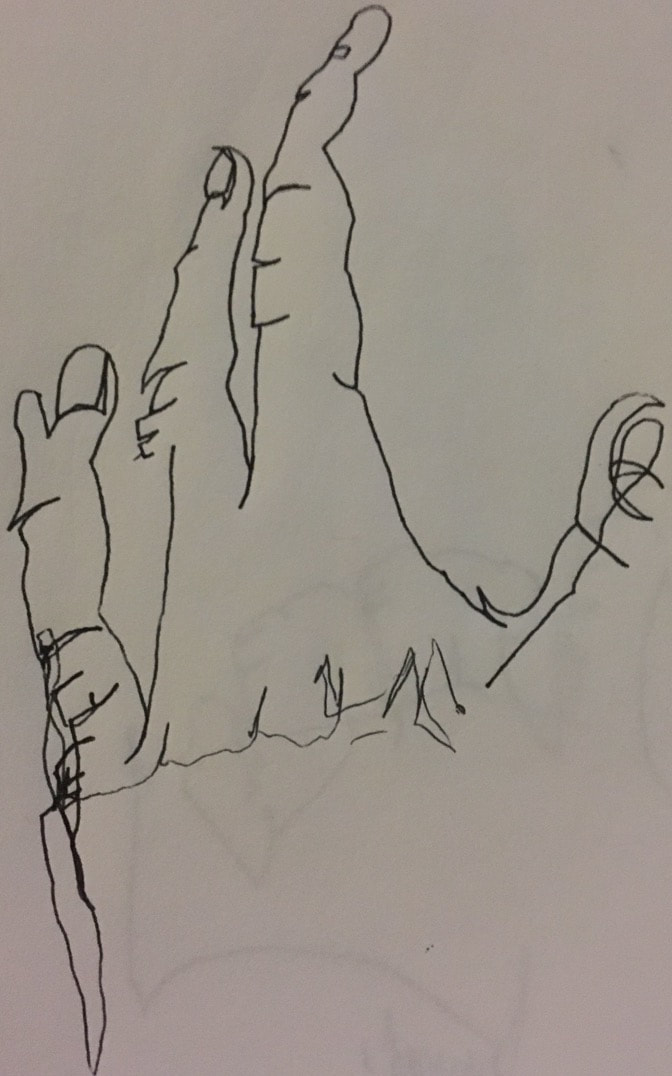
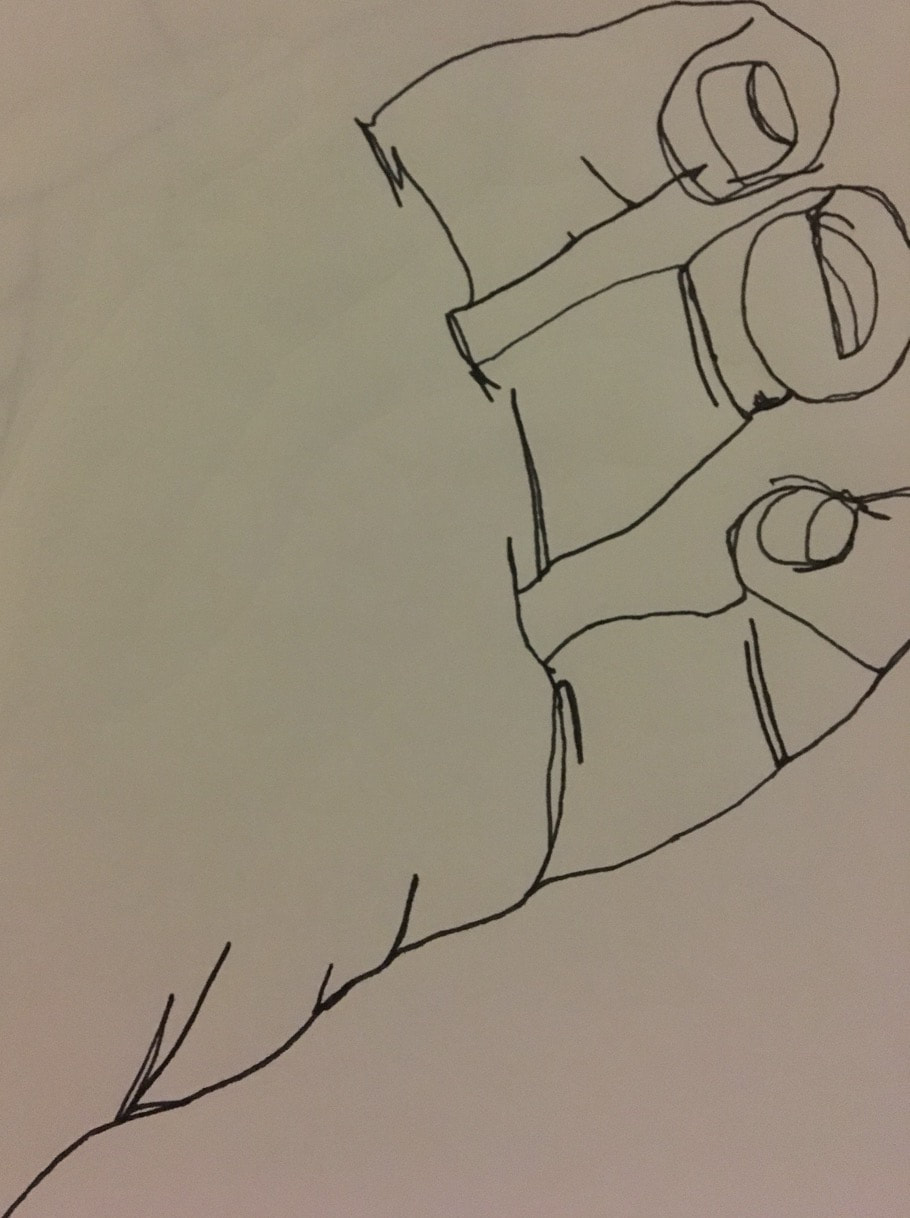
So after our introductory to our Drawing class, our teacher introduced us to the idea of contour drawing. So she put us to the test of doing a blind contour drawings of our hands. They were difficult but we could only look at our hands while drawing it on paper outside of our vision. Here are my blind contour drawings.
Modified Contour
|
|

|
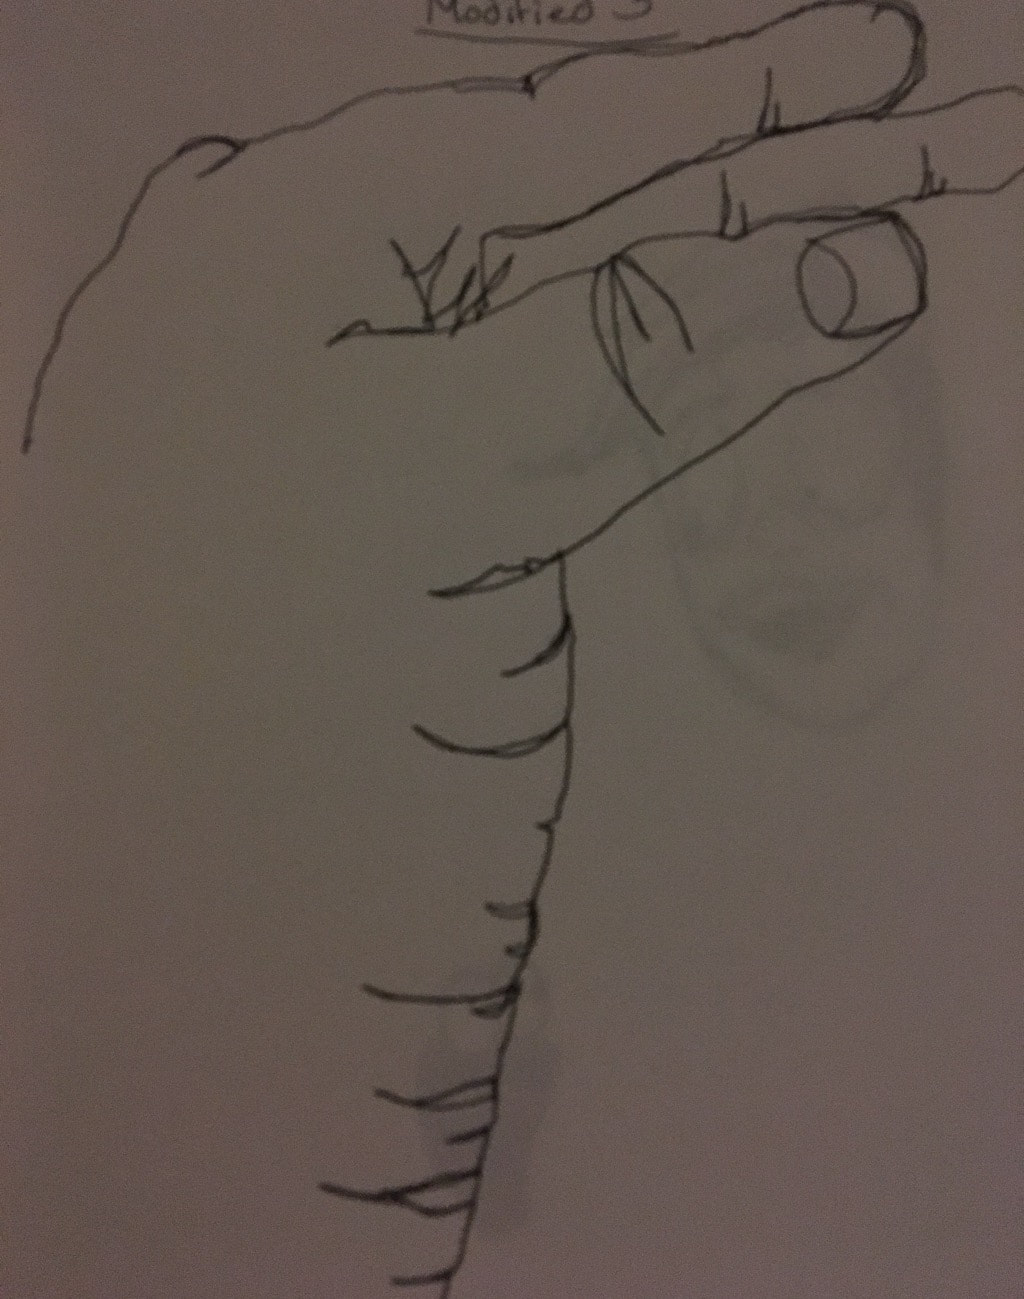
After our blind contour drawings we were able to look at our hands and the paper back and forth while drawing it. This was proven to be a lot easier noticeably because they actually look like hands. But these are what my drawings we'd like when we were granted the ability to analyze our drawings while drawing our hands.
Contour Backpack Drawing
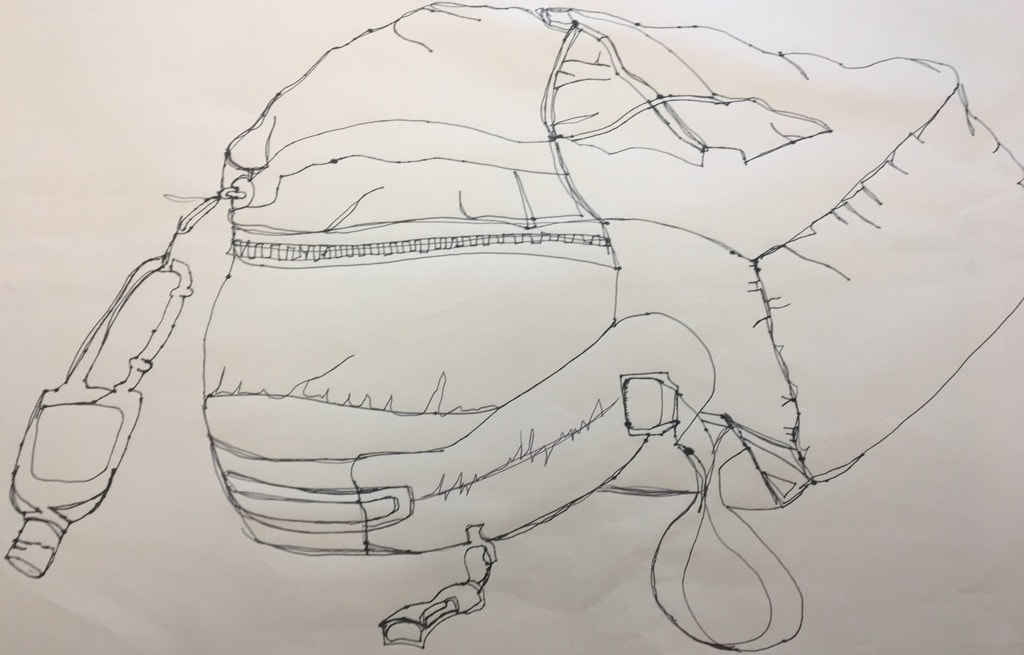
So now that we are more familiar with contour drawings, we were tasked with taking a backpack and making a contour drawing of it. This was a little challenging considering that we had to account for all the creases and folds of the backpack where it lied on the table. I personally thought my backpack looked pretty great with the implementation of a 3D looking figure shown in one single line.
Classroom Contour Drawings
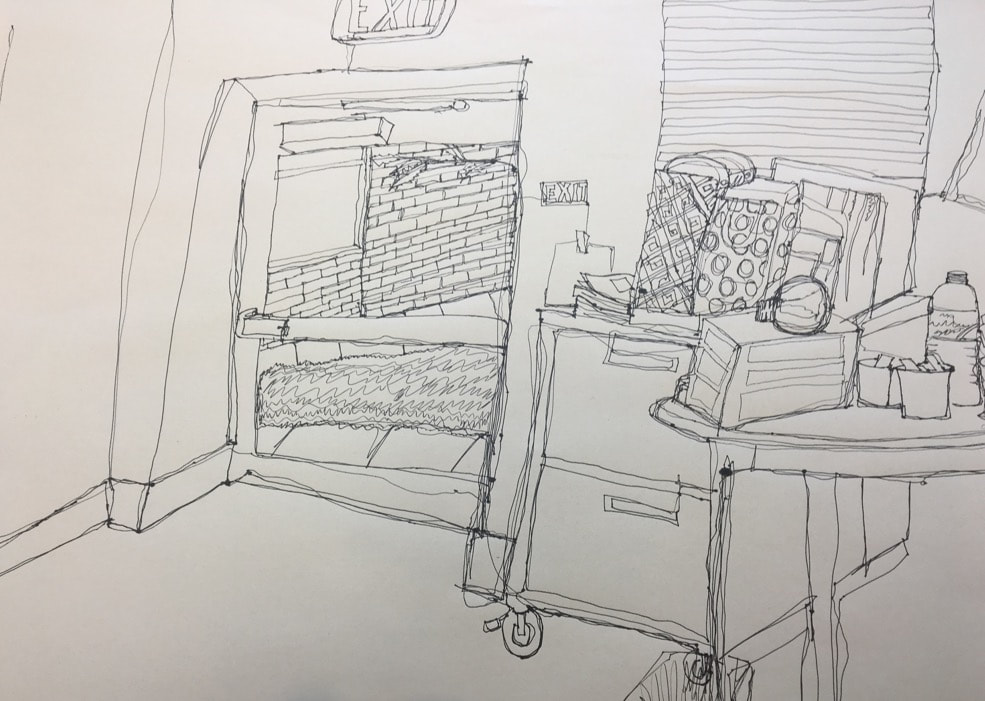
Our class' final task was to draw a contour drawing of a part of the room. With my final product there is one fluid line believe it or not. It is there even though there is multiple cases of overlapping to add in detail to the little details in the room. The practice of contour drawing helped create my final piece by helping me learn to adjust the sizes to be proportionate and to add the little details without breaking the line. The difference from these contour drawings to a normal outline drawing is that contour drawings really define the surroundings and feel of what is being drawn opposed to an basic outline drawing. Overall I learned a lot from these contour drawings and my final piece of the classroom. I learned that these drawings really define the landscape of specific objects or points of view. And if I were to change something on my final piece, it would be the straightness to my line work when it is needed.
Form Value and Shading
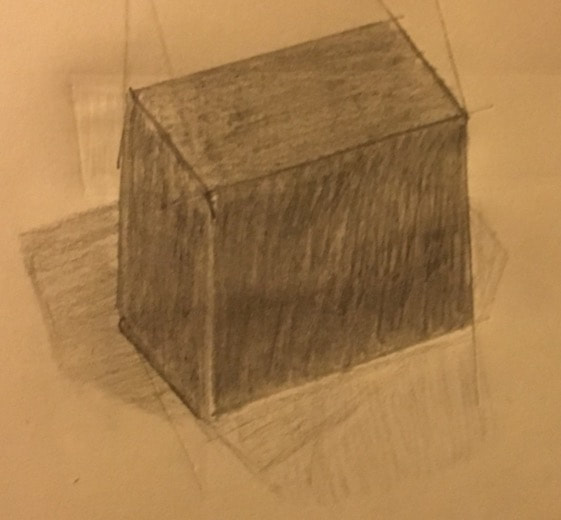
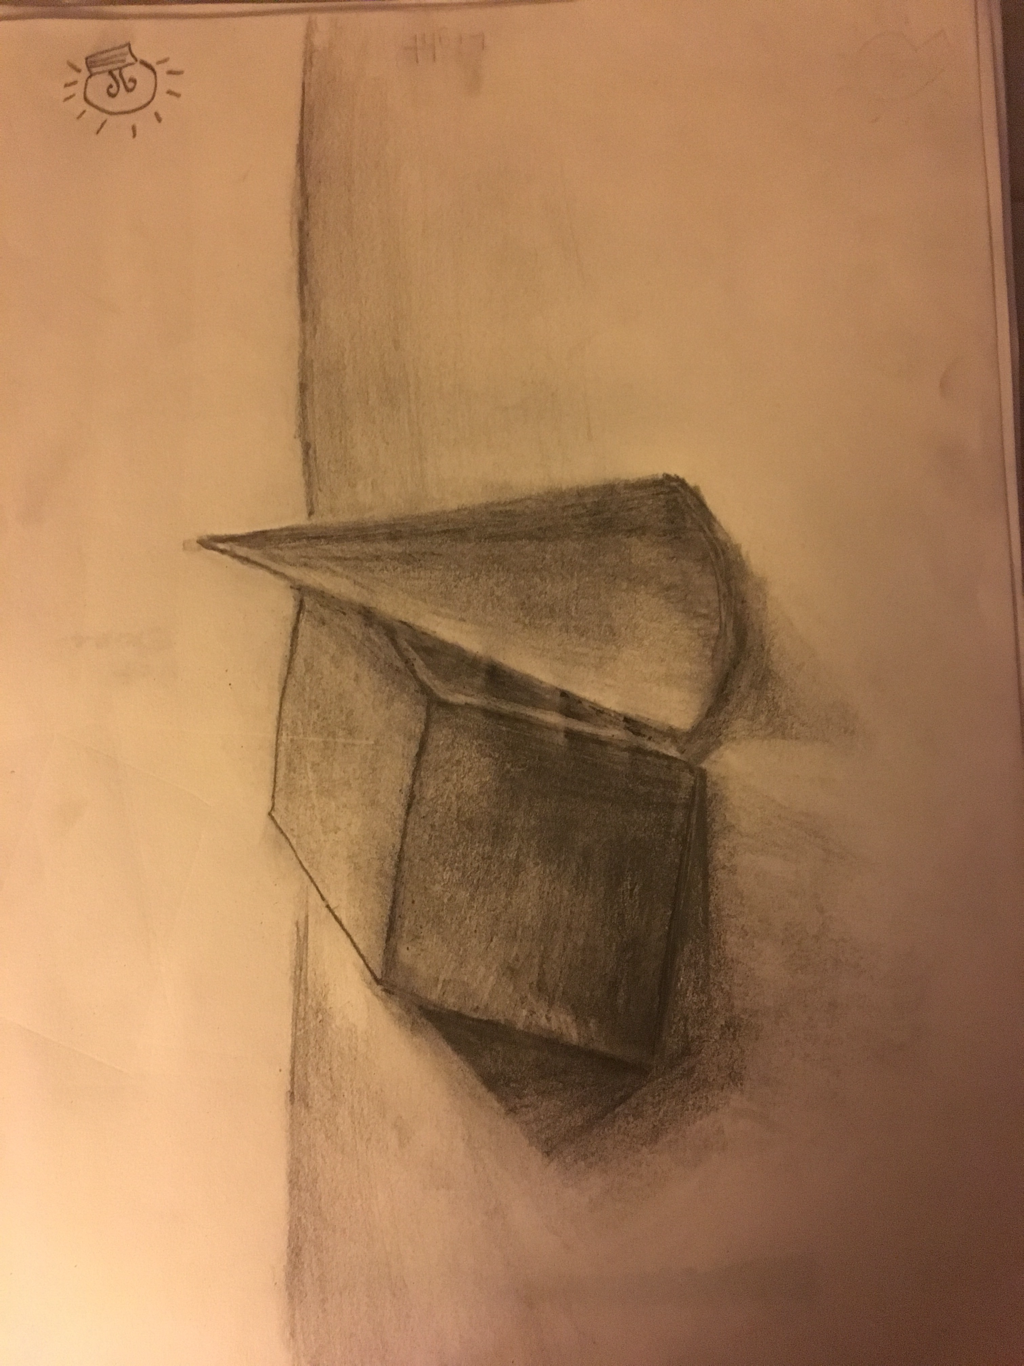
Intro Shading with Shapes

|
|
|
White Shading and Value
White Ribbon Drawing
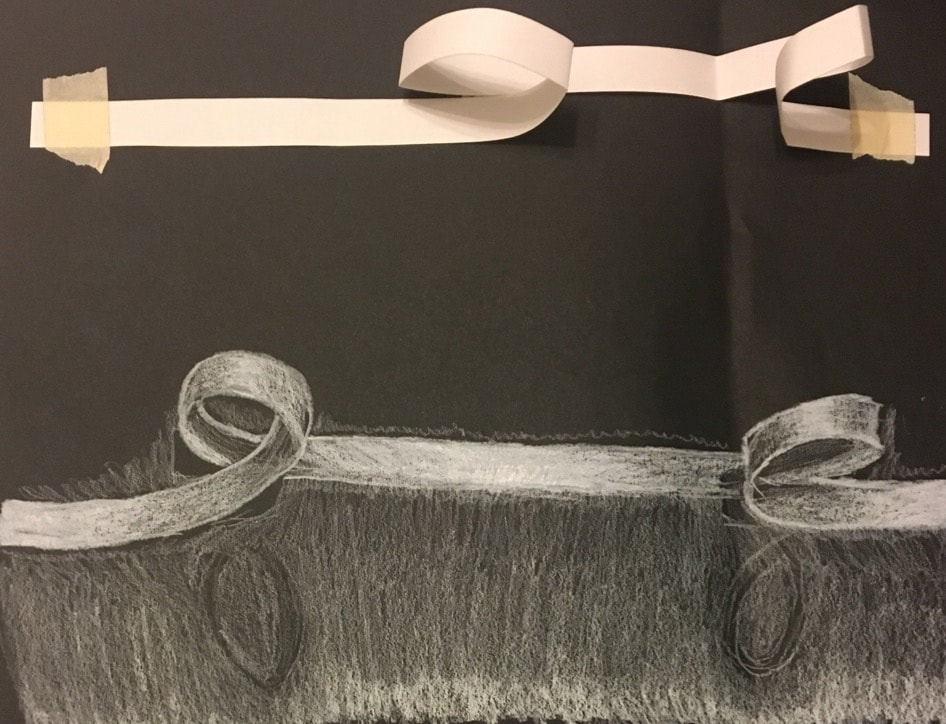
I was very happy with how my white ribbon drawing turned out. If I were to change one thing it would be the shading of the surface area that I made under the ribbon.
Fabric Drawings

|
|
|
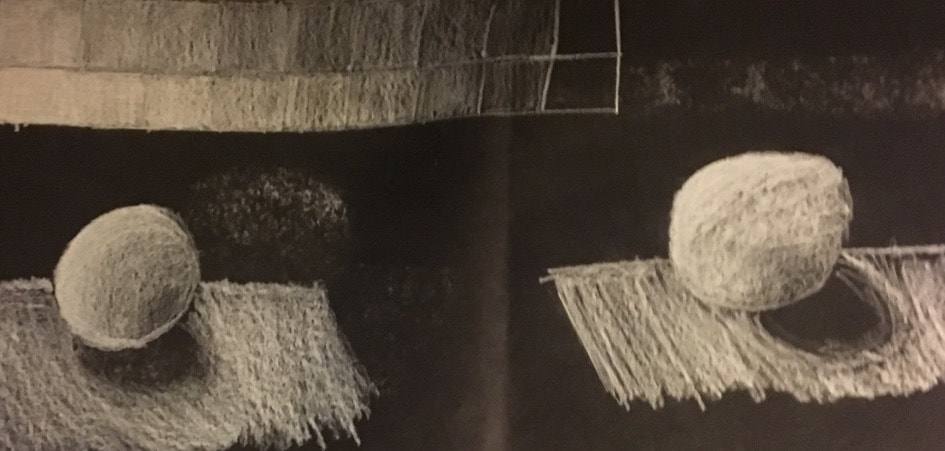
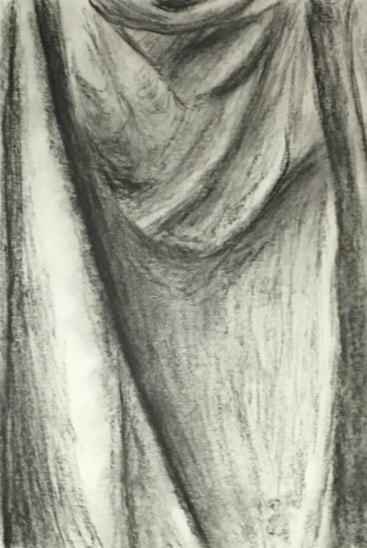
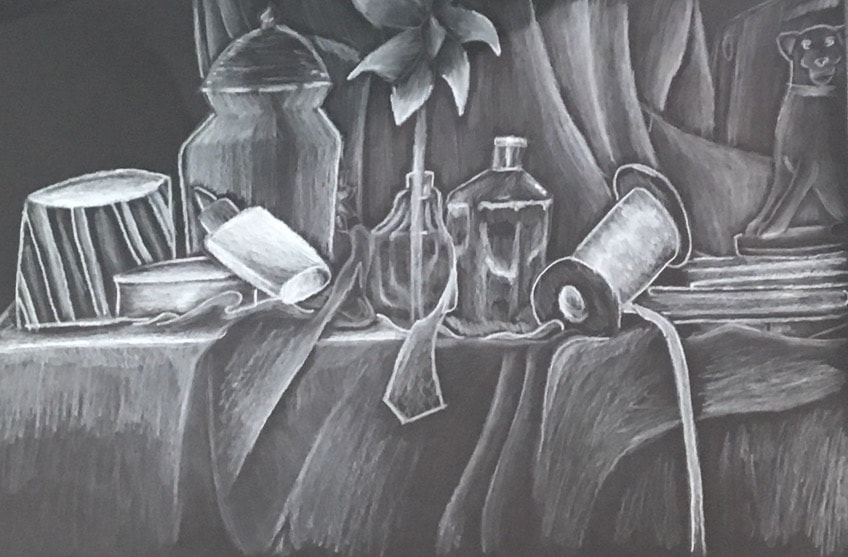
With our introduction to shading, we started to work on little sheets of paper. On these sheets of paper, we were instructed to look at a large hanging cloth and sketch it with 3 types of drawing utensils on 3 pieces of paper with different colors.
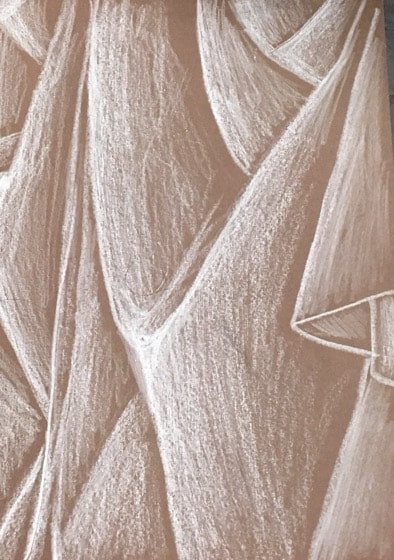
This piece is my final cloth drawing. I used a White Prisma Colored pencil. With the white prisma, I did use a wide set value of shading throughout the light areas of cloth where it would fold in. With all the practices of shading and drawing smaller pictures of cloths, I was able to succeed in making this one after determining that my favorite style of drawing cloth. I was able to make these areas of surface that were light because I would apply pressure where there would be climactic points of the fold of the cloth and then go down with les and less pressure when I hit the more lower and darker points of the cloth. Interpreting texture in my drawing through the use of shading helped make my drawing look more three dimensional opposed to a flat piece of cloth. Overall I was very happy with my final product because it showed my development in shading, but If I could change this, I would work on some of the darker points of the cloth and make sure they stand out more.
Perspective Drawings
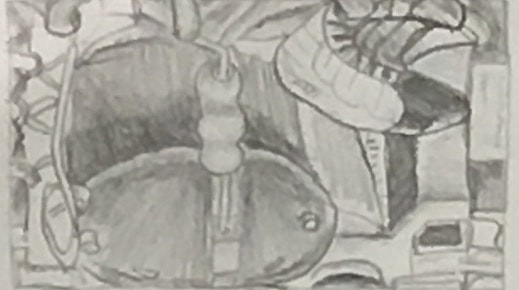
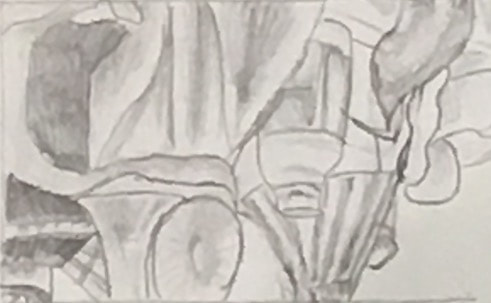
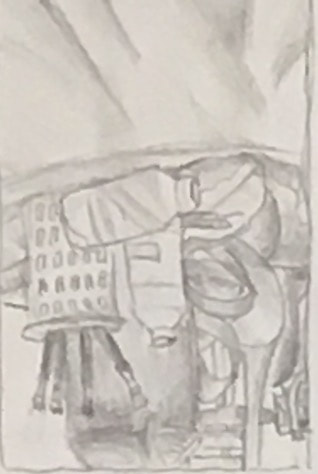
After learning how to properly draw cloth and represent the shading of the creases of it, our class then started to draw still life objects over a table with cloth. These are my practice sketches from multiple perspectives around our classroom. We used view-finders to create a rectangular are to draw and gain perspective of how to fit what we were looking at into proportion with our papers.
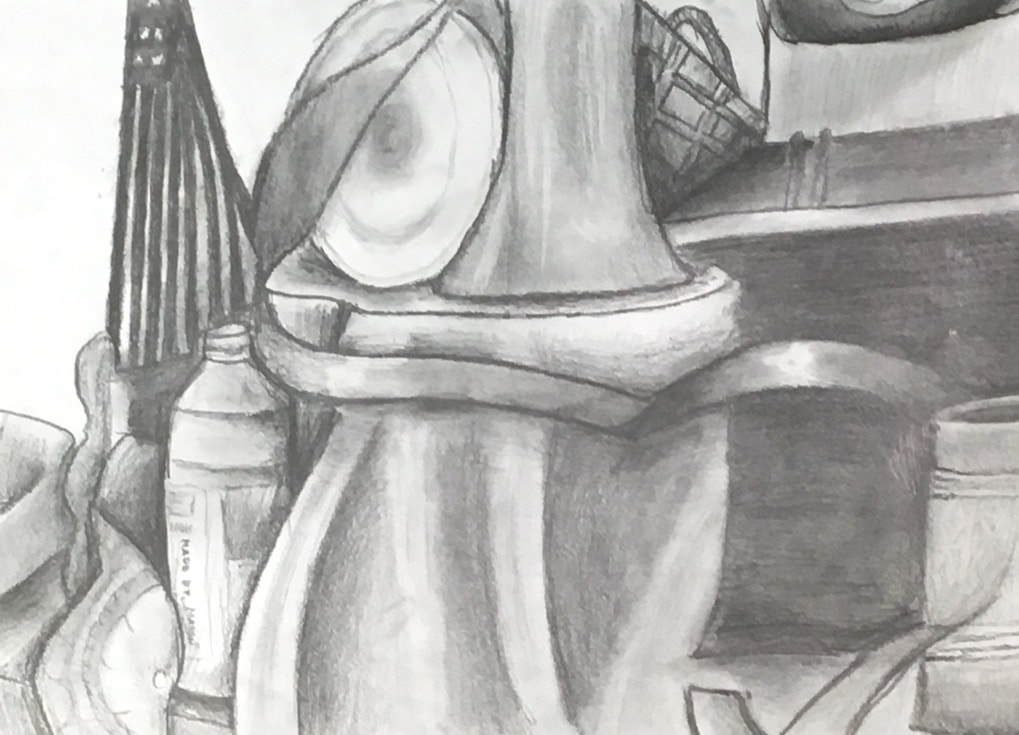
Now that we were done with our still life sketches, it was time to create our final product. We made our final product based off of the best sketch we made in the beginning. As you, the reader, may realize, I have two separate final products. My instructor came to me and said, "Mason you are the best. I bet that you can make two separate final products in the time it takes the whole class to make one." As a competitive student I accepted my instructor's challenge because she was right. I am the best. Now I will talk about my final pieces of work. I like both of my final products. There are clear definitions between the different objects and where they are placed. Everything blended in well and looked smooth throughout each of the drawings. I would have gone back and made the lines a little sharper for my first final product. The lines are a little too thick and they should be thinner. Throughout each drawing, I used a mildly long range of values that could have been darker in the first product. But the values I used helped create the range of where objects are placed. The source of lighting came from right above the table with the objects placed on top. The compositional sketches we made before the final products helped me make my final drawings successful. They helped me get a sense of how to place objects in proportion and into my perspective. Most of what I drew were in proportion but if they were a little distorted, I would try to fix the things around it to try and fit in. The objects on the table themselves were placed to help us learn how to make shadows of what objects are placed in front of them. The center of interest of the first drawing was the elevate cloth with the trumpet laying on top of it. The second drawing had no real center of attention because of its wide range of objects and perspective. Like I said before it took me approximately five days to create two still life final drawings. I was able to make two good drawings to maximize my time as efficient as I can. Problems I faced throughout the drawing was pushing the darks in my first drawing. With recommendations from my instructor, I was able to succeed in making things look like they are overlapping other objects that are behind them. Overall, my take-aways from these still life drawings is that when we draw still life we need to make sure to work for precision and define the light and dark areas of these drawings.
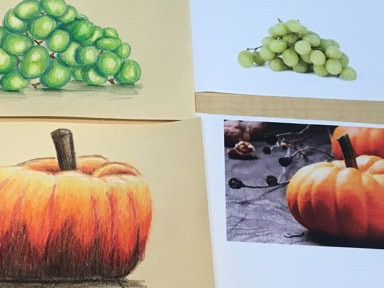
Pumpkins, Grapes and Glass
And we are off again with a new unit in my drawing class. We start off with taking pictures of pumpkins and grapes and then start to use prisma color pencils and attempt to draw both of these pictures as accurate as we could. Here are my drawings of my pumpkins and grapes.
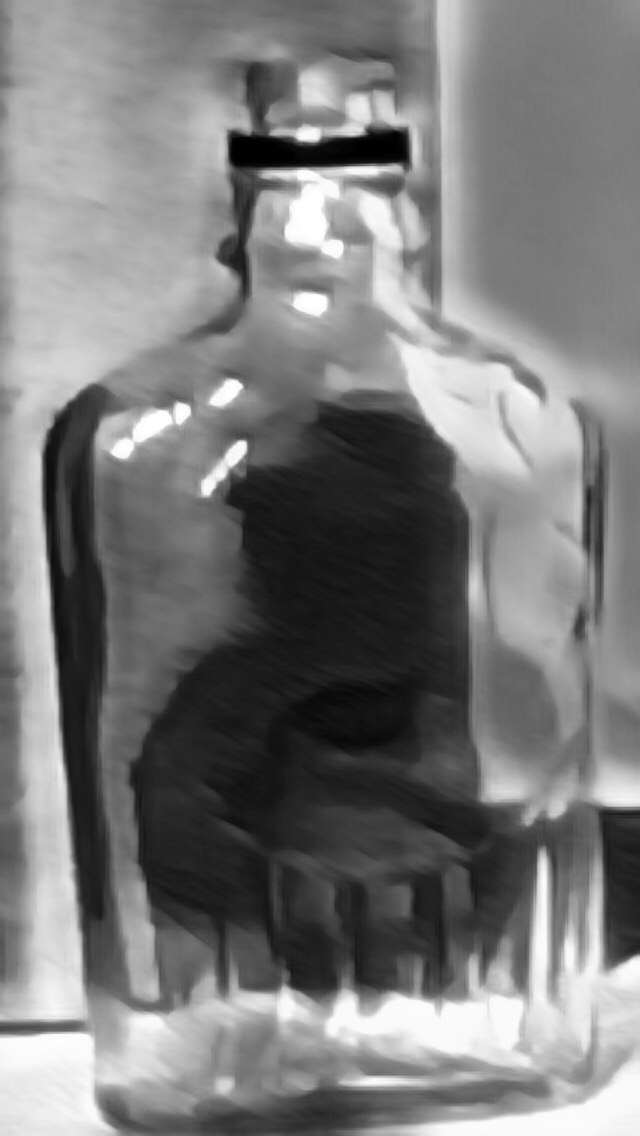
My drawing of my glass was very difficult. It took me at least three attempts before I was satisfied with my drawing. I also had lost my second drawing which was supposed to be my final drawing. I then made a new one on black paper with a white prisma colored pencil. I like the major differences of the lights in the background and in the outlining of the glass' curves and edges. I made the negative space in the background light to really make the glass itself pop out from the rest of the space. To be honest I was not fully ready for the project because glass can be very difficult to draw with colored pencils. In general I was very happy with my final glass product and I wouldn't change too much about. I would add maybe some brown, yellow, and blue colors in it to add more reflective colors.
Foreshortening
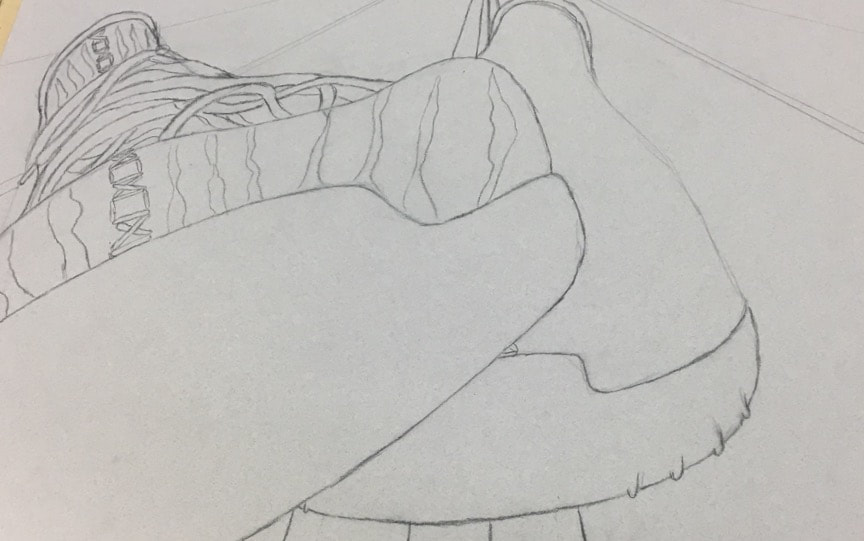

Our latest unit in Drawing Class was foreshortening. Immediately we start creating ideas for our project in this unit. I came up with the brilliant idea of taking a picture of my favorite shoes, my Yeezy Boost 350's. So I took a foreshortened picture of my shoes and started on my final.
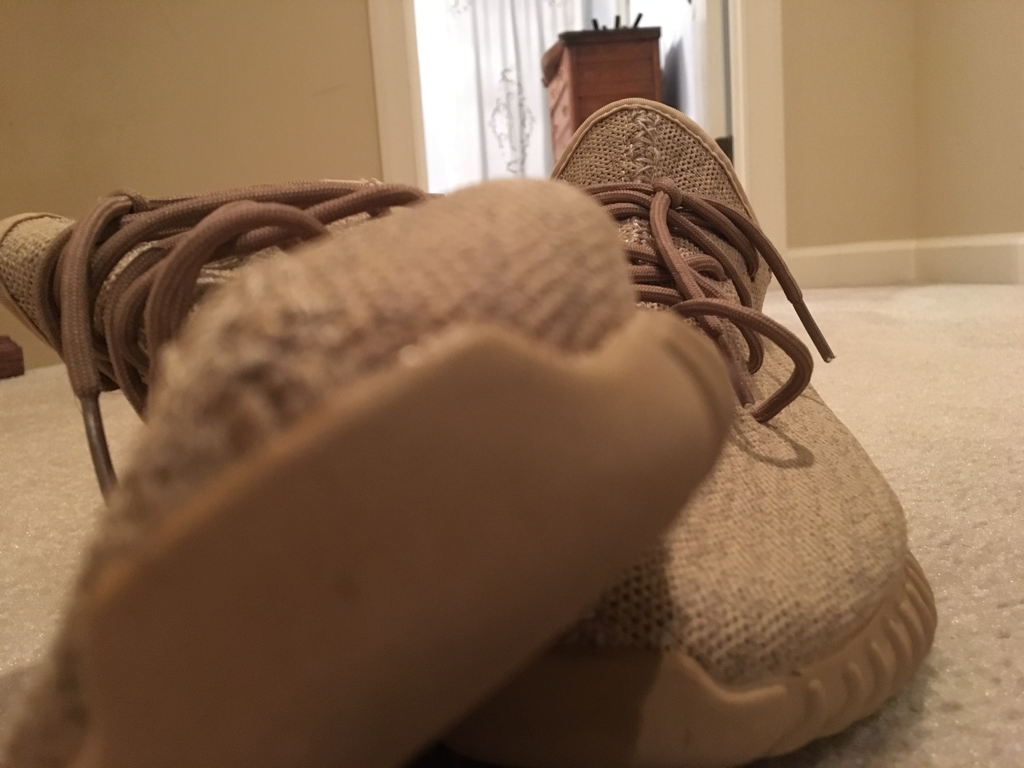
Here is the real-life picture of the shoes.
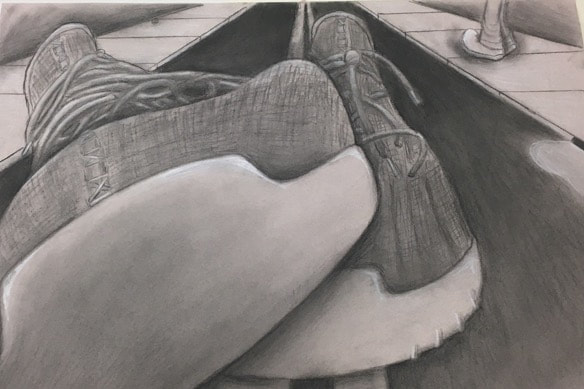
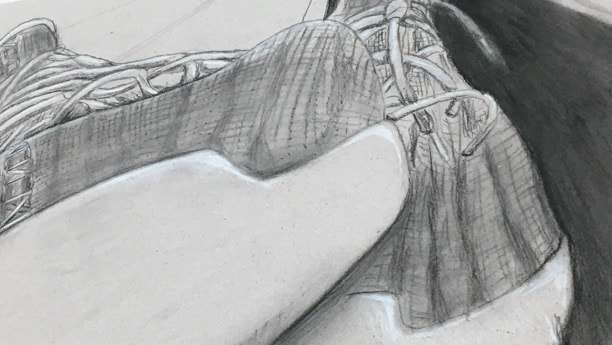
I was extremely impressed with this final product. The point of view from this drawing is really interesting because it shows the tip of one of the shoes that goes further back into an overview of both shoes. It is important to understand the perspective because it gives a sense of what is closest to the person viewing it and how far away things are in the picture. The use of charcoal in the drawing helps create a more realistic detail throughout the darker areas of the shadows and the road in the background and foreground. I also used a white prisma color pencil to help bring out where light is reflecting on the shoes, surfaces, and the water going into the drain on the right side of the drawing. I used value shading in the darker areas throughout the drawing, and I used cross hashing and blending for the stitching of the shoes. There is a clear foreground, middle ground, and background by the look of the width of the road, sidewalks, and lane lines that are painted in the road and how they thin out as they move further in the background. I was very prepared for this project because (as I've said before) I worked with charcoal pencils and used value shading with my newly acquired skills of foreshortening on a piece of paper that was twice the size of my peers' papers because as my instructor always says, "Mason is the best."
Opacity
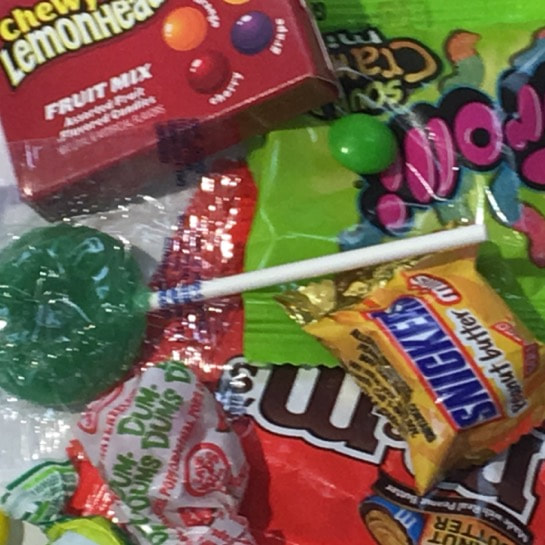
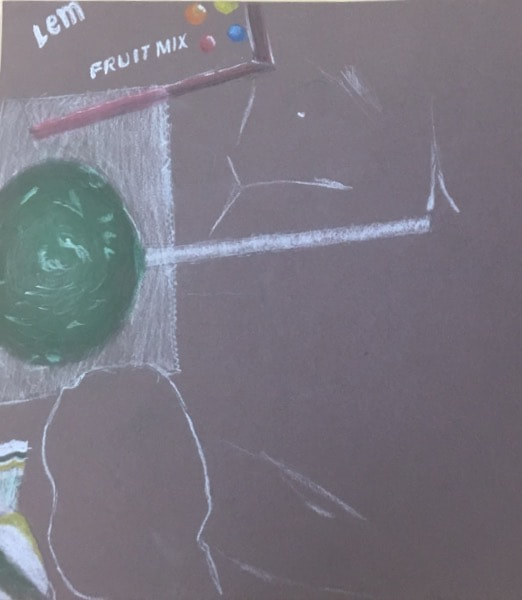

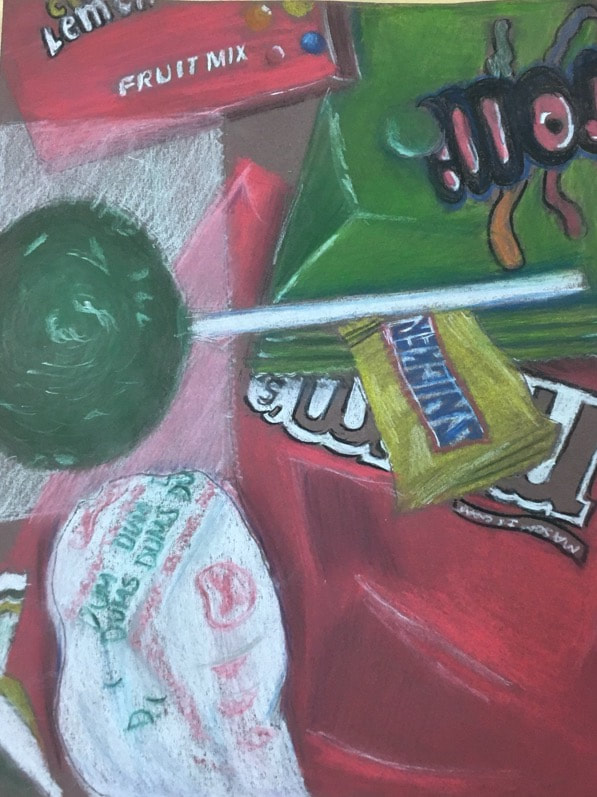
We started off our opacity unit in my drawing class with some colored drawings of some candy wrappers. Since most of them are clear, this was a good start to the unit. Here is my drawing of the candy.

This is my final product from the opacity unit. I chose to draw beef packaged in a grocery store in plastic wrap. My piece was well executed because it does look pretty realistic for the most part but some parts could’ve touched it up to improve its realism. Throughout making this, I had to get multiple pictures and sketches to determine what parts would be most efficient to be include in my drawing. With that being said, I had to choose which colors would help make this look real. I chose crimson red, white, normal red and for the background I used gray, black, blue and peach. The background was bland because the meat was stored on a shelf so I had to emphasize the look of the meat. So I would use darker reds to make the meat look like it was pressed on the wrap and I would transition to lighter reds as it goes further in the packaging. This is where most of the contrast was between all of the packaging and the perspective of the picture shows the juxtaposition of all the packages stacked. In order to draw opacity drawings I would recomend putting all of the light spots and reflective spots and then work around them. The most difficult part of drawing this was trying to make the meat. The meat was hard to draw due to having to make sure there are textures and transitions of light.
Self-Portrait Drawing
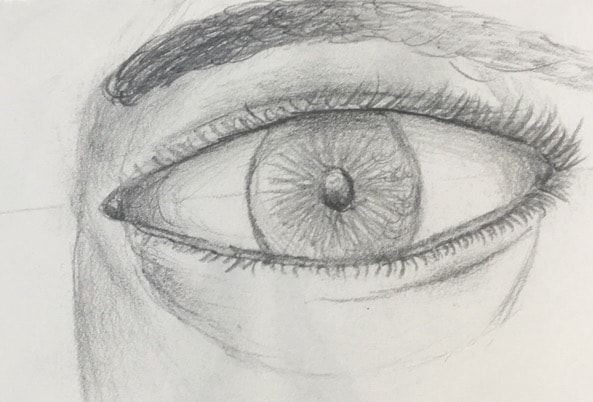
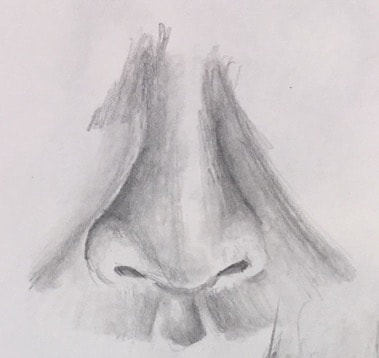
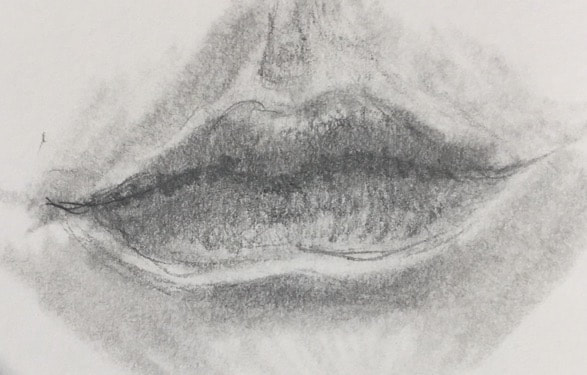
With our next project my class and I started to practice self portraits. With this being instructed to us, we had to learn the basics of drawing each kind of facial feature, whether it was the nose, mouth, lips, eyes, hair, and etc. We started practicing with drawing each of these features.
After we learned how to draw these features, it was time to put them together. Our instructor gave us a piece of paper with a skull on it with a transparent piece of paper on top of it. With the practicing of drawing these features, we had to draw our face on top of the skull and make it look like us.
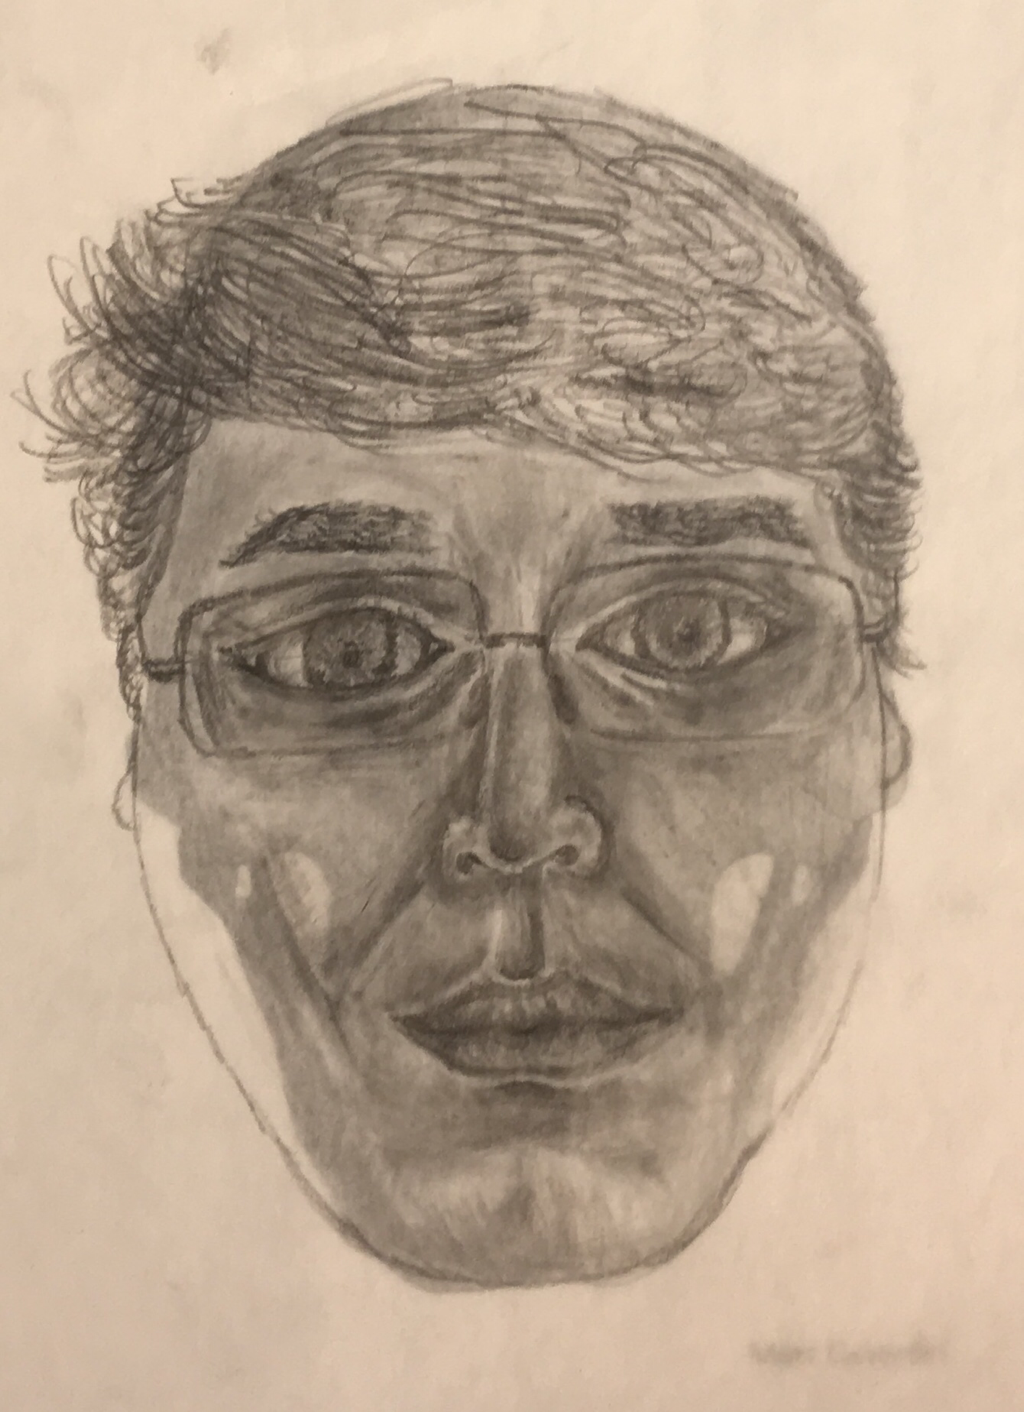
After this it was time to create our final drawing of our faces without the help of the skull to make the structure.
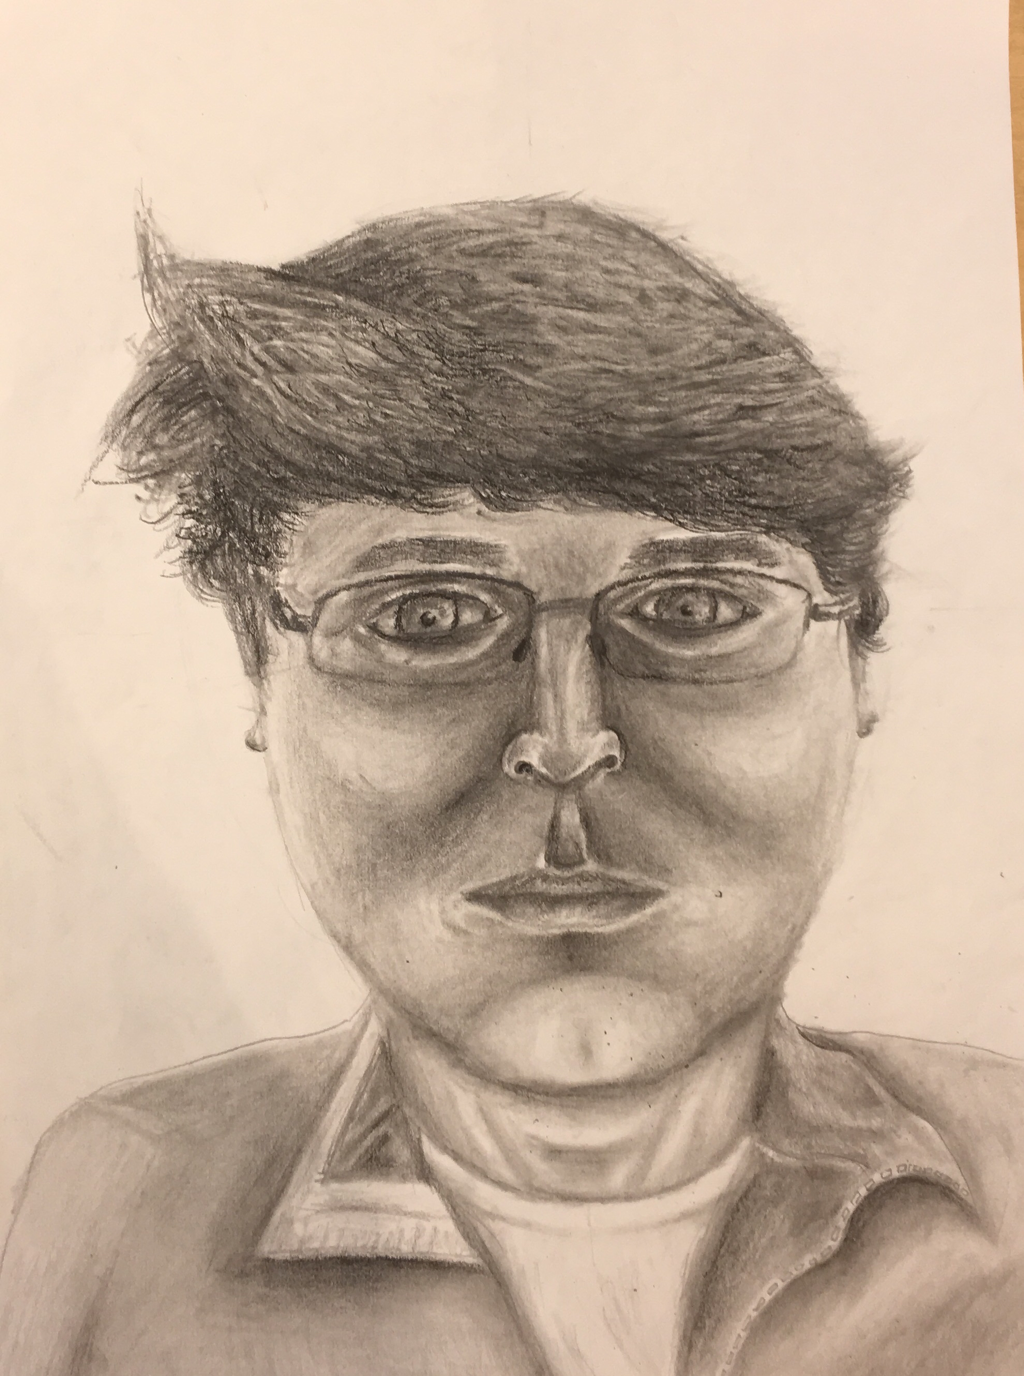
Getting up to this point with my final drawing of myself was interesting. We had to become proficient in drawing each kind of physical feature on our faces and put it all together in one whole picture. In order to put it all together I need to use a set of values to make it all connect with the creases of my face and where to make my lights and darks. From the edges of my nose where it is most dark to the most protruding surface of my cheeks where it is most light. I did achieve a wide range of values but couldn’t do too many darks because I am very pale and the darkest thing I could get are my pupils. I believe my artwork was made very smooth and the transitions between values and the different facial features blend very well and go very well together. I was able to capture my look by looking at pictures and really trying to shape my face, head, and mostly my eyes which help the overall look. In order to to place everything in the correct place, I had to use a diagram we made in class where we measured distances between the features and I compared it to the picture of me I was basing it off of. It was important I knew how to draw all of these features so that the picture would accurately depict me, go together, look realistic. Overall there weren’t many or any obstacles in my way except practicing drawing lips due to the amount of detail it takes for them to be realistic. But this unit was beneficial for me so that now I can draw my beautiful face.
Scratch Board
My class' last lesson of the semester was scratchboard. The ideal scratchboard drawing we would make had to give the image of movement of an object, animal, or etc. So as the creative genius that I am, I made the glorious idea of a mouse riding a surfboard on a wave while it is screaming.
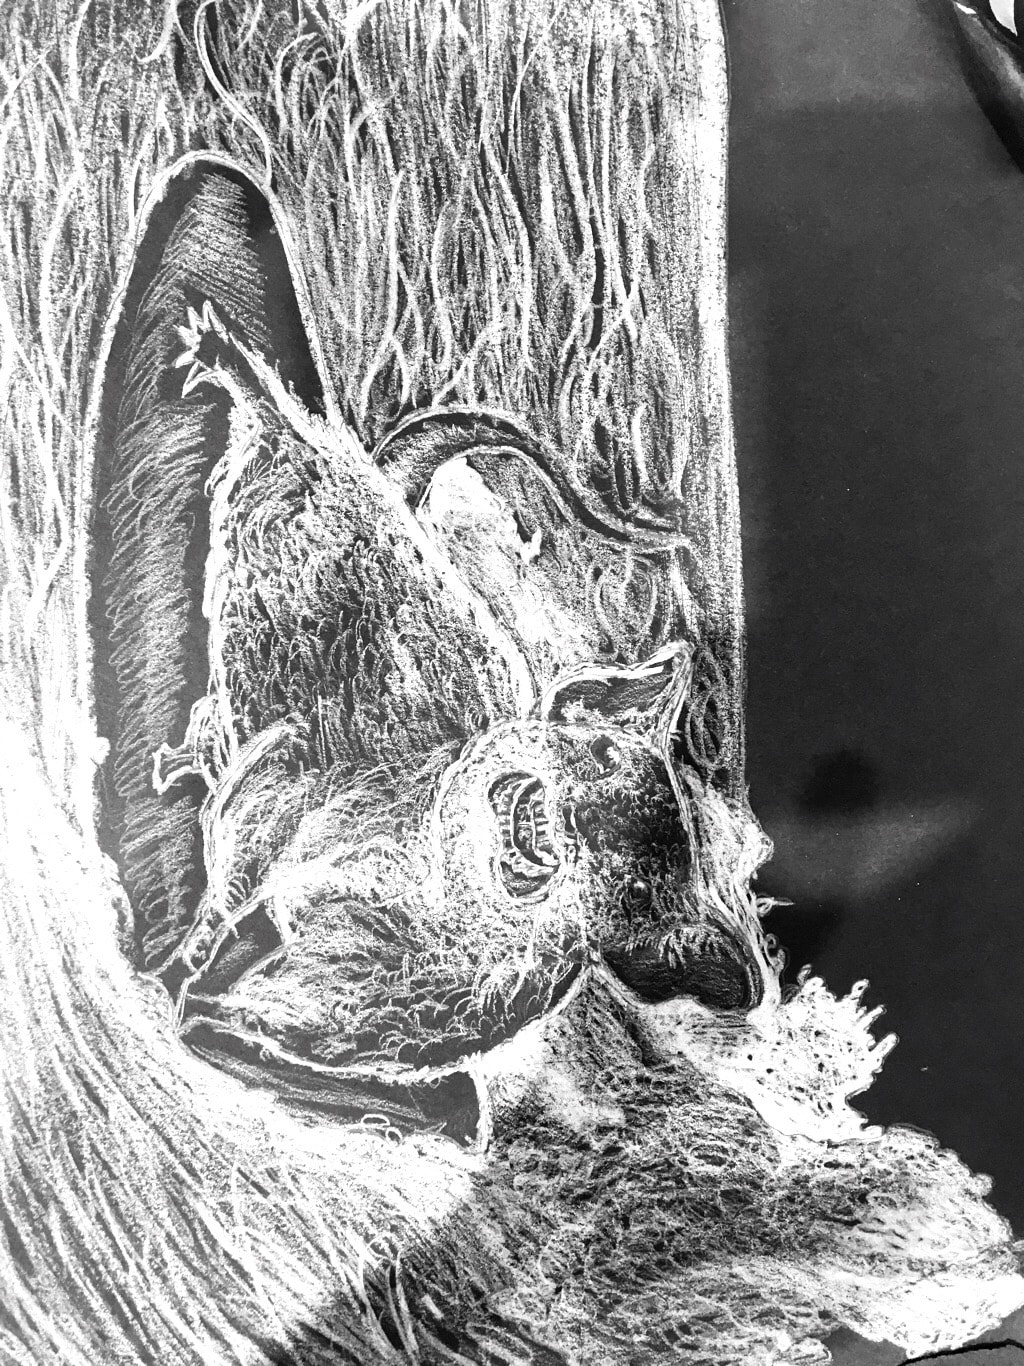
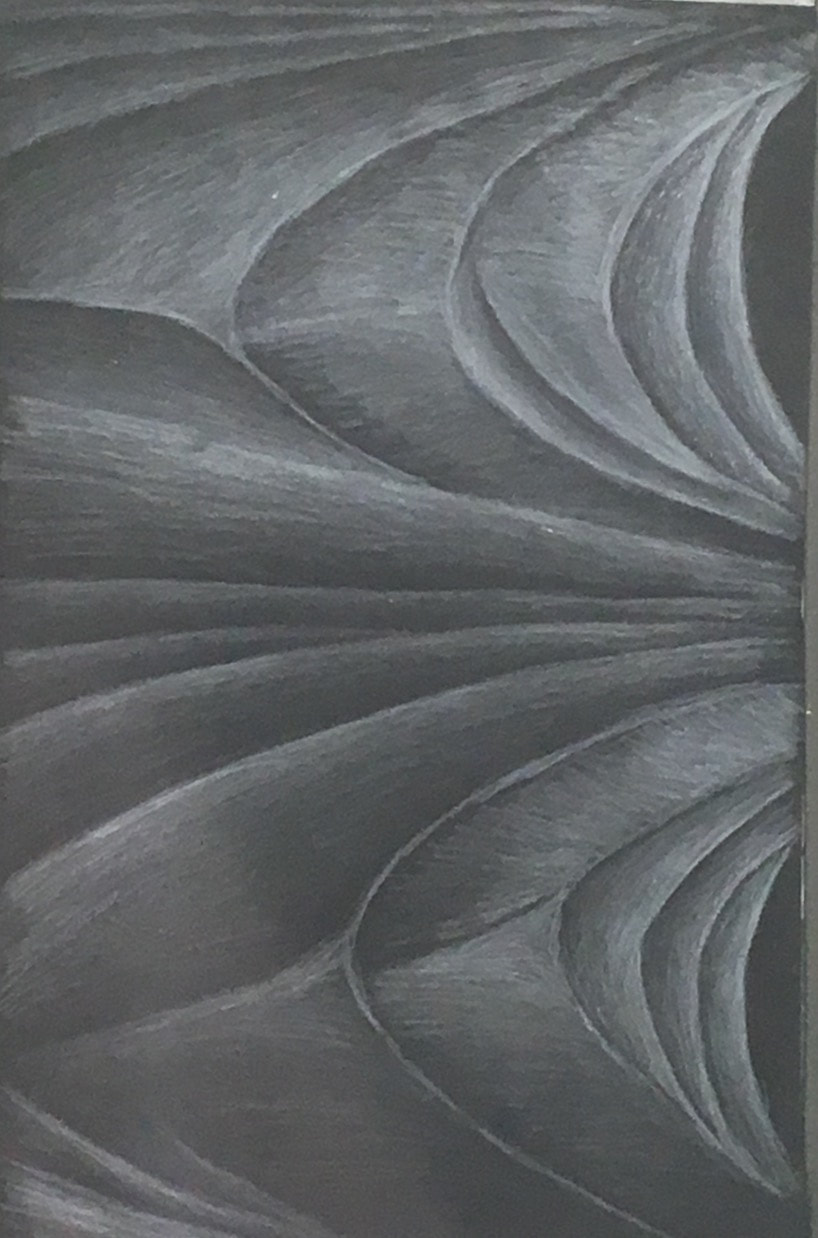
We had to make some sketches of our mostly rejected ideas. But me, I took this idea and made it a dinger. This is a white pencil sketch on black paper of what I wanted my scratchboard to look like.
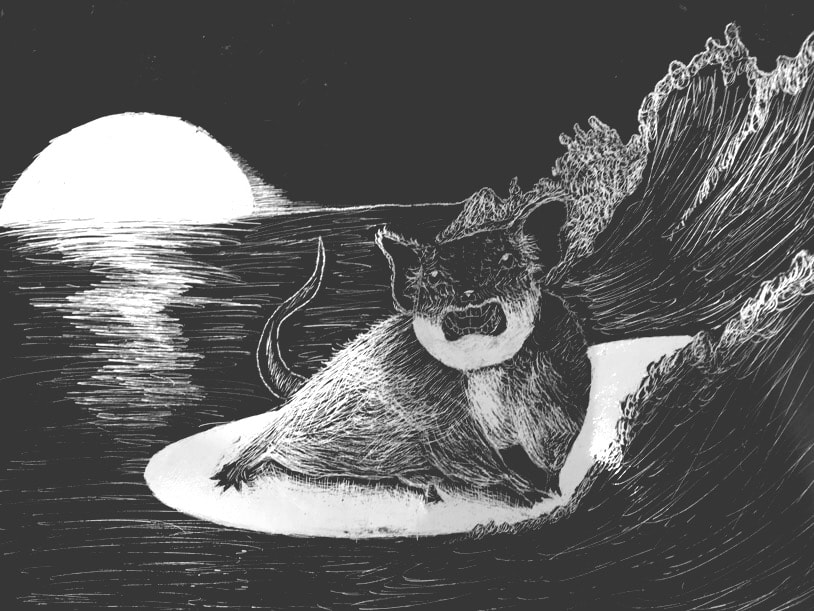
This is the final product of my mouse riding the waves. This piece identifies my personal, crazed creativity that goes on in my beautiful mind. Now analyzing this piece, the are with the most texture was the mouse. The mouse's body is covered in fur which creates a look of hair flying in the wind to create the image of movement while it is riding the surfboard. My work was well organized because it really differentiates each thing in the picture, whether it is the mouse, surfboard, or water. The movement in this picture is shown by the rising of the waves and how the mouse is screaming and the seemingly movement of the hair. Due to a little struggle of time, I wish that I could improve on the details of the mouse itself because it does look a little sloppy with the layers of fur. There is a wide set of values where its dark under the mouses shadow which transitions to the bright light of the surfboard.
Senior Finals: A Reflection of Drawing Class
Here is the author's notes of my page based on the experiences that I, Mason "the best" Satterwhite have had in Drawing class. I have had major improvements due to the amount of practice and instruction by my instructor. From the beginning I was a good cartoon artist but throughout the semester I have gained other skills in drawing that set a vast set of options of drawing styles for me to draw now. Throughout this time I have gained the self-made accolade of "The Best" due to my skill in this field of art.
Throughout this time I have learned how to shade with value proficiently, which helps most projects where you need to draw. I have also learned the difference between drawing pencils because they are all pencils except now I know they are different. I can now draw in good detail different objects, people and animals in a decent amount of detail. I now don't have to resort to drawing in cartoons to doodle or sketch if i'm doing a project, or just doodling in class.
I have overall enjoyed the class because of how much I have been able to pick up and learn prior to taking this class. There have been major improvements that have been evident throughout each piece that can be seen by scrolling up. I can also say that I enjoyed this class due to the favoritism that I have achieved due to me being "The Best" from my instructor, Ms. Rossi. She truly likes me more than everyone ever and can probably admit that there has been major improvement due to her instruction. But again I am "The Best" so saying that she taught me should be receipted as a great honor that most teachers don't get. From contour to scratchboard, again there has been major improvements that would not have been made unless I had taken this class. But I can only wish to be as good as Drew Krupa. Also I'll be back next semester with some Art II stuff.
